DIY Dog Buttons: How to Make Cheap Talking Dog Buttons for Under $50
Latest Posts
What You Need to Start Your Website: Domains, Hosting, Content & More
How to create affordable communication Buttons for Your Dog
Plus a free downloadable button template!
Dog communication buttons are amazing — but the popular kits cost $150–$300.
In this guide, I’ll show you how to build cheap DIY dog buttons for under $50 using simple Amazon supplies and a printable button template.
Talking dog buttons have exploded in popularity over the last few years. But many people quickly discover that official dog communication button kits can cost $150–$300 or more.
The good news?
You can build DIY dog buttons for a fraction of the price.
In this guide, I’ll show you how I created cheap dog buttons for my adopted dog Bunny using a few simple materials and a printable design template.
🧠 In this guide you’ll learn:
✔ What dog communication buttons are
✔ The dog who made them famous (Bunny!)
✔ How to build a cheap DIY button board
✔ Which words to start training with
✔ How to design your own button icons in Cana
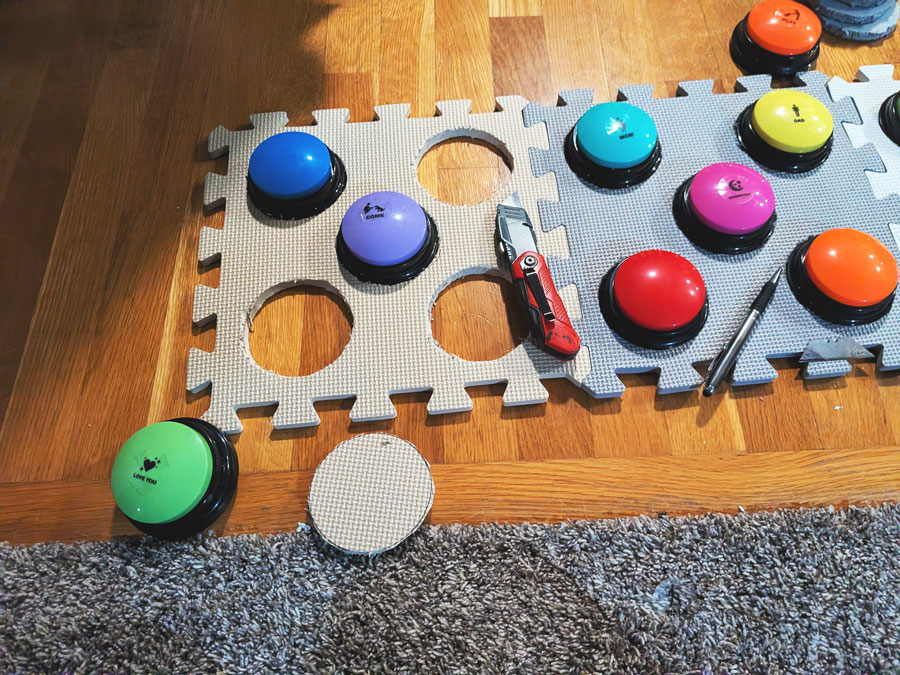
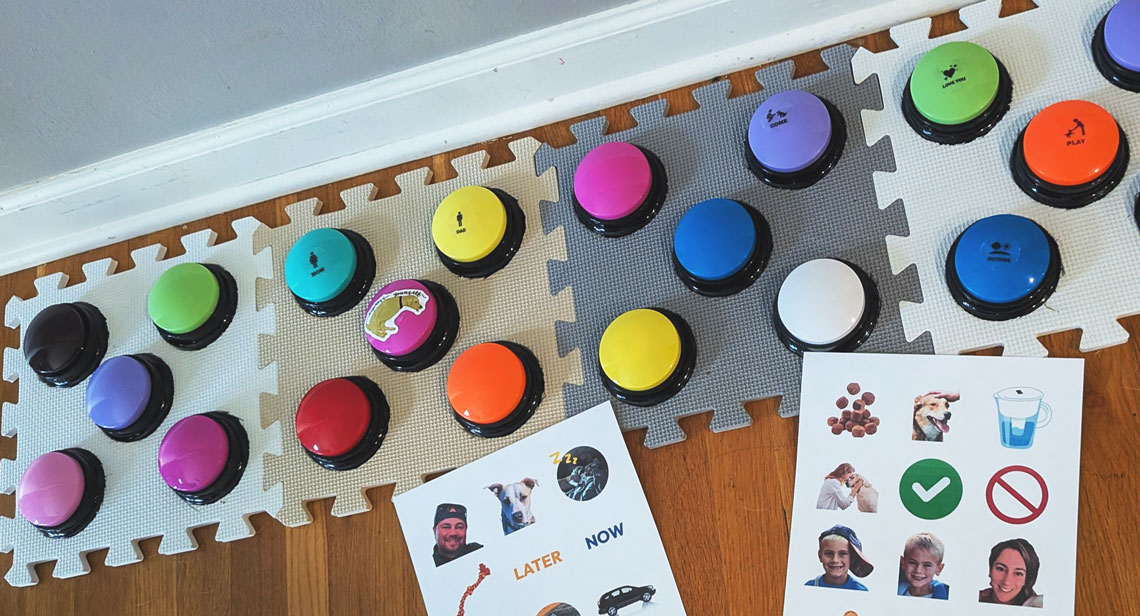
Tools Needed: Recordable Buttons, Tiles, Pen, & X-acto Knife

What are dog communication buttons?
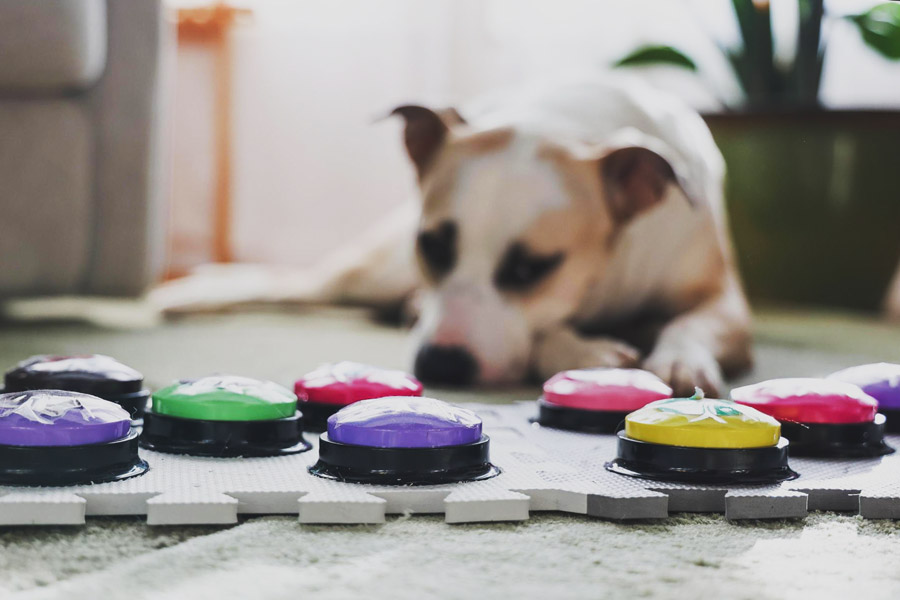
Dog communication buttons are recordable buttons that play a word or phrase when pressed. Dogs can learn to associate pressing a button with a need or request.
Common examples include: Outside, Food, Play, Water, & Help
Over time, many dogs begin using multiple buttons together to communicate simple ideas.
Example: “Outside Play” or “Food Now”
Dog owners around the world are now experimenting with talking dog buttons, but many are searching for cheap dog buttons or DIY dog buttons instead of expensive kits.
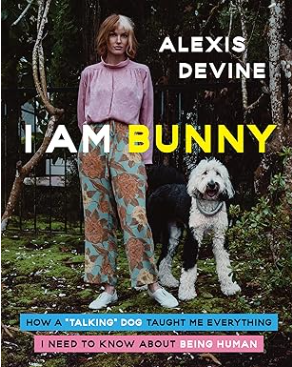
The Pooch That Made Talking Buttons Famous - The OG Bunny
Alexis Devine introduced the world to talking dog buttons through her dog Bunny the Sheepadoodle. Their social account @whataboutbunny went viral as Bunny began pressing buttons to communicate words like:
- Outside
- Play
- Mad
- Why
The concept is inspired by Augmentative and Alternative Communication (AAC) systems used by people who cannot speak.
Today, thousands of dog owners are creating their own DIY dog communication button boards! Buy her book here.
Why I Built Cheap DIY Dog Buttons Setup Instead of Buying a Kit
Most commercial button kits include:
- Recordable buttons
- Icon cards
- Foam tiles
But many of these kits cost $150–$300.
Instead, I built my own affordable dog button board for under $50. For this leap, I didn’t want to take a large gamble with my newly adopted pup. I wasn’t sure how he would react, or if he would even use buttons. I needed something quick and easy without the heavy investment from brand-name button manufacturers.
Benefits of DIY dog buttons:
✔ Much cheaper
✔ Fully customizable
✔ Expandable as your dog learns
✔ Easy to rearrange buttons
For my setup, I used foam puzzle mats and inexpensive recordable buttons so the system could grow over time.
Supplies Needed to Make DIY Dog Buttons
You only need a few items to build your own low-cost dog button board.

1. Recordable Buttons
Look for 30-second recordable buttons.
Features to look for:
- Loud speaker
- Easy recording button
- Durable plastic
These typically cost $15–$25 for a pack.

2. Foam Puzzle Mats
Puzzle floor mats are perfect for organizing buttons.
Benefits:
- Prevents buttons from sliding
- Easy to cut holes into
- Expandable layout
Cost: about $10–$20

3. Printable Button Icons
Instead of handwriting labels, I created visual icon labels to help Bunny associate images with words.
Examples of icons I use: Treat, Food, Water, Play, Mom, Dad, Outside, Now, Later.
I designed these using Canva! Create your own or keep scrolling for a free downloadable starter button template.
Design & Print Dog Button Icons in Canva
Creating button labels in Canva is simple!
Steps:
- Go to Canva.com
- Create a 2–3 inch square design
- Add an icon or photo
- Print and cut
Ideas for button icons:
- Dog bone = Treat
- Sun = Outside
- Ball = Play
- Water pitcher = Drink
Laminate or tape the icons onto the button.
This makes your DIY dog buttons look professional while staying affordable.

@margemedia such a smart boy 🥹✨ #husky #pitsky #pitbull #talkingbunny ♬ original sound - Marge Makes
Best First Words for Dog Buttons
When starting with DIY dog communication buttons, it’s important not to overwhelm your pup! (Like I did 😅)
Start with 3–4 buttons maximum.
Recommended first buttons:
Outside: Easy to reinforce
Treat: Highly motivating
Play: Encourages engagement
Scratches: Another quick, easy-to-reinforce action
Avoid abstract concepts at first, like:
- Later
- Tomorrow
- Why
Once your dog understands basic cause-and-effect, you can then expand the button board.
How to Train Your Dog to Use Talking Buttons
Training DIY dog buttons takes consistency.
Step 1: Model the Button
Every time you perform the action, press the button.
Example:
Press OUTSIDE → immediately go outside.
Step 2: Repeat Often
Dogs learn through repetition.
The more they see the association, the faster they learn.
Step 3: Reward Curiosity
If your dog presses a button accidentally:
Celebrate it! Pets for the good girl/boy!
Curiosity is the beginning of learning!
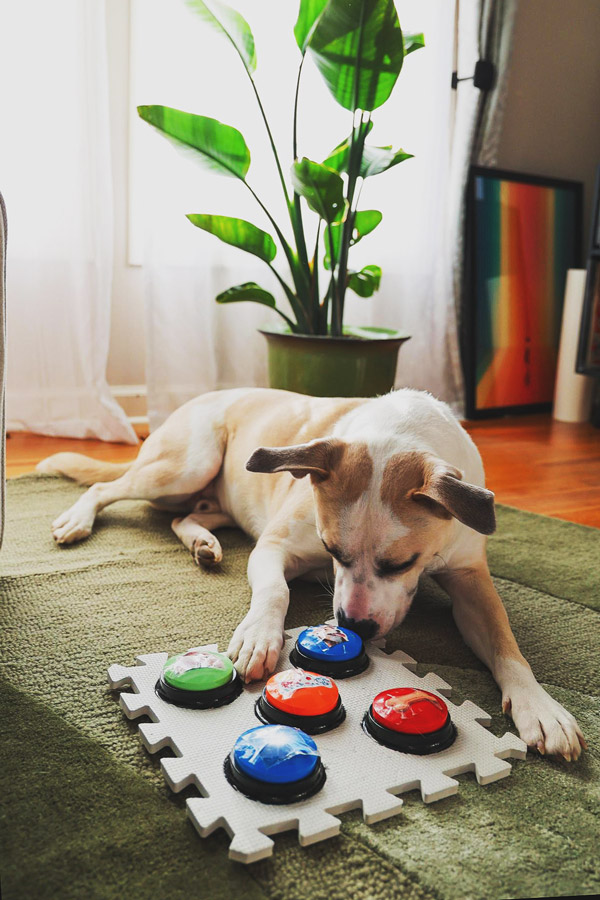
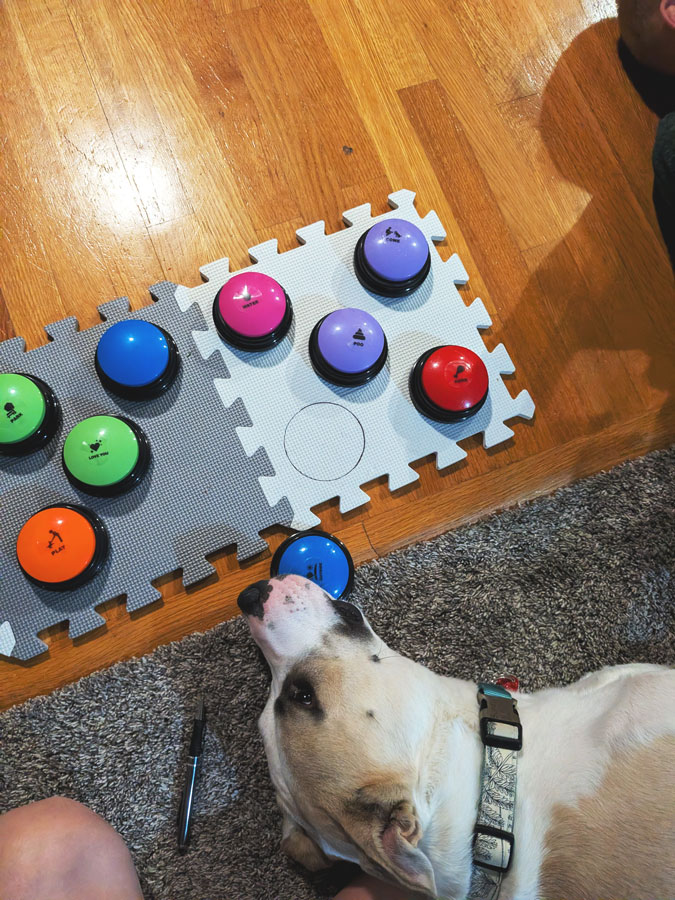
My Button Board Setup
My current DIY dog button board includes buttons for Treat, Water, Scratches, Yes/No, Outside, and Play. The most exciting moment is when your dog presses a button on their own for the first time — it feels like they’ve suddenly opened a new communication channel.
I made this setup for my adopted dog Bunny and honestly wasn’t sure if he would actually use it. Within the first week he pressed OUTSIDE by himself, which felt like unlocking a new language between us.
The moment that really convinced me the buttons were working was when we had a doggy friend visiting. She went outside to play on her own, and Bunny noticed she was gone. Instead of just standing by the door, he walked over and pressed the OUTSIDE button — clearly asking to go join her.
Final Thoughts on DIY Dog Buttons 🐶
Talking dog buttons don’t need to be expensive. With a few simple materials you can build affordable dog buttons that work just as well as commercial kits. The goal isn’t to teach your dog dozens of words. The goal is building better communication between you and your dog. And sometimes… your fur baby might surprise you!
This article contains Amazon affiliate links. If you purchase through them, I may earn a small commission at no extra cost to you.